Create a Schedule From Scratch
How to create a schedule for next week from scratch and publish it
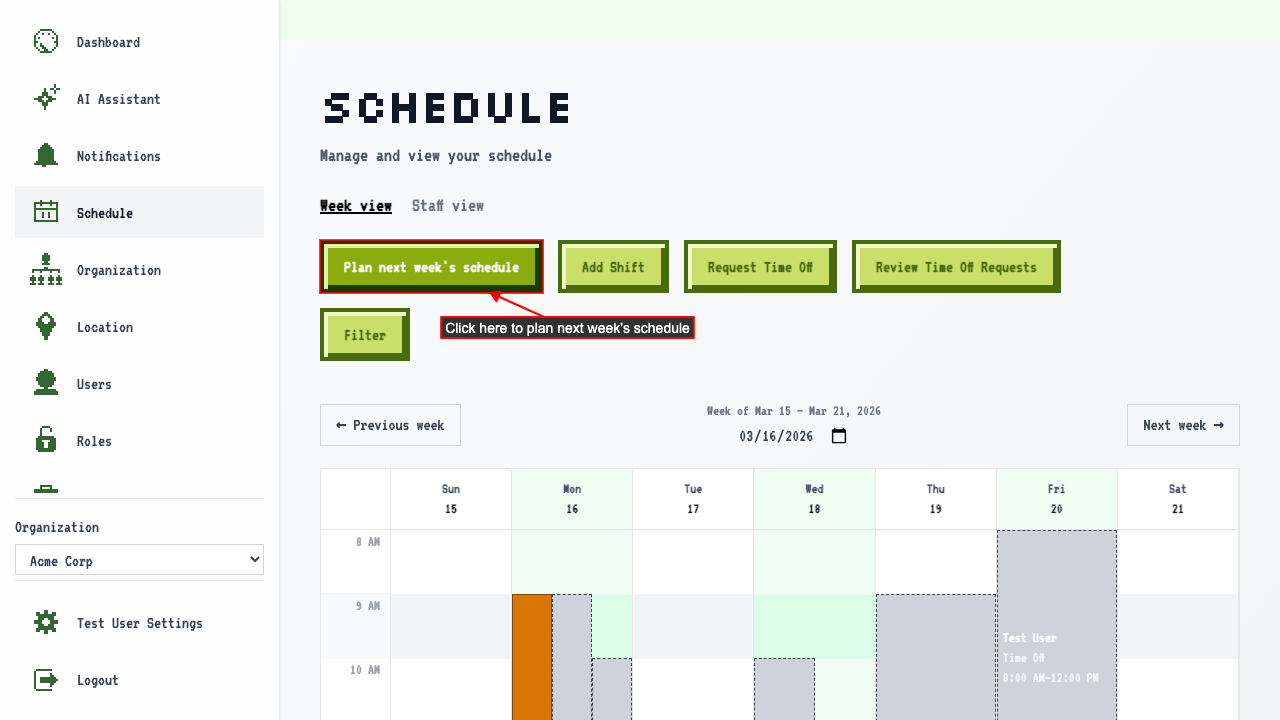
When on the schedule page, click 'Plan next week's schedule'.
 You land on the plan page showing next week's calendar.
 Select a location to plan shifts for.
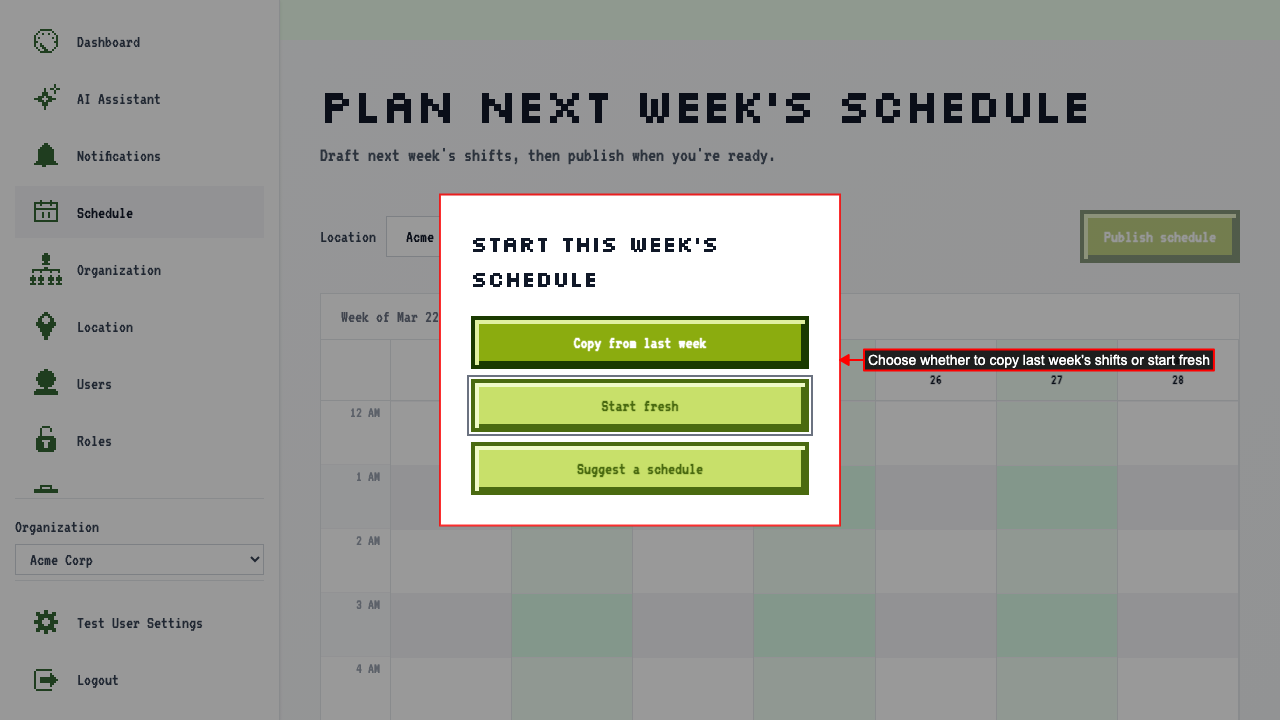
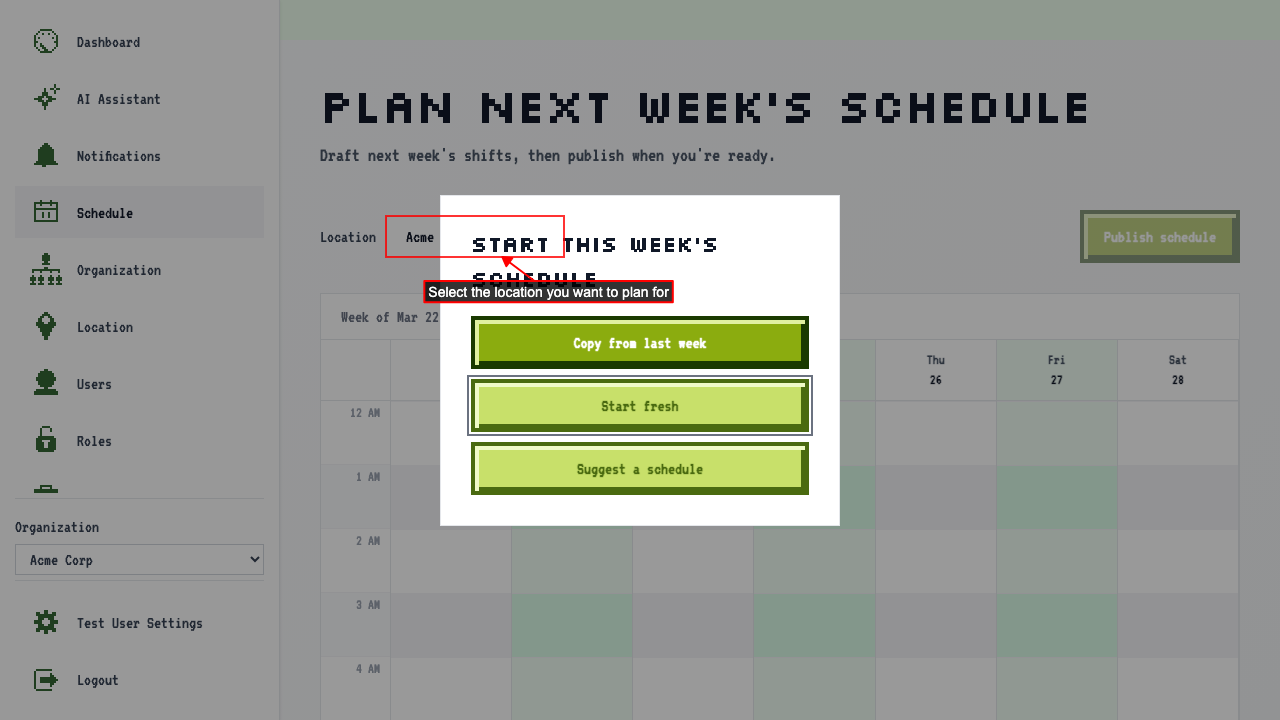 If there are shifts from last week for this location, a dialog asks if you want to copy them. Choose 'Start fresh' to begin with an empty calendar.
 Click the 'Add draft shift' button to add a new shift to the calendar.
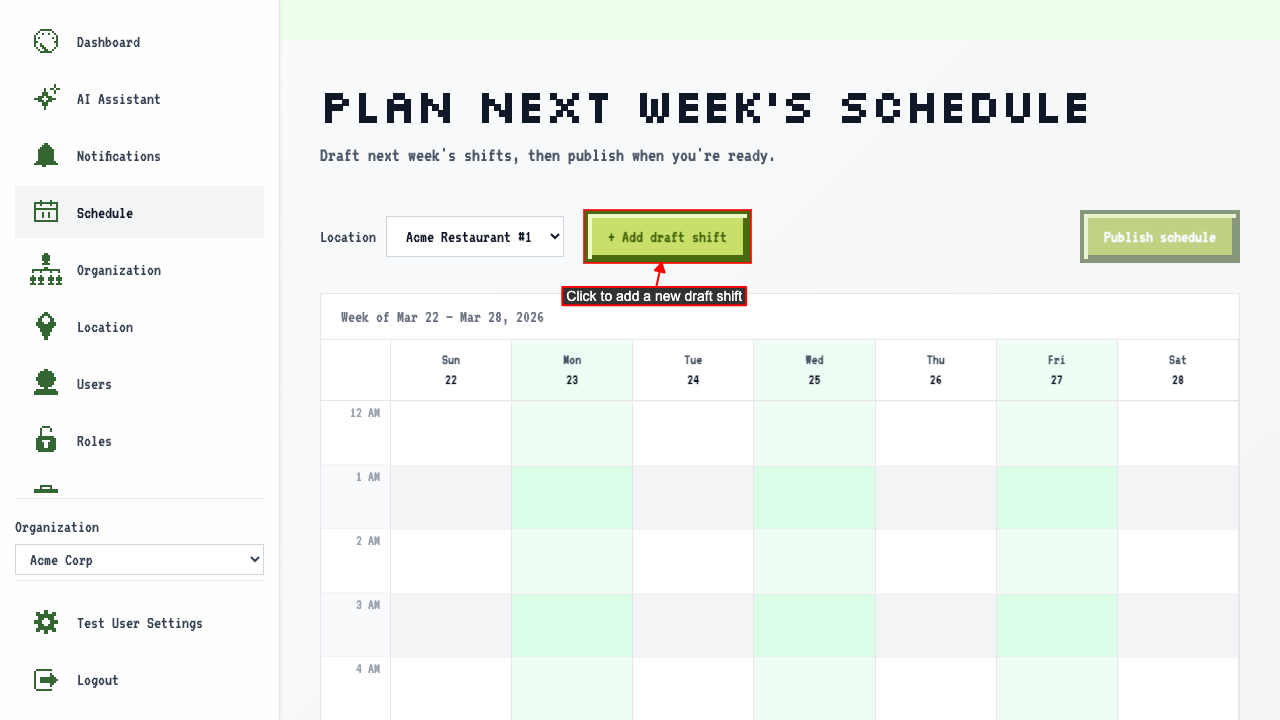 A form dialog opens to create a new draft shift.
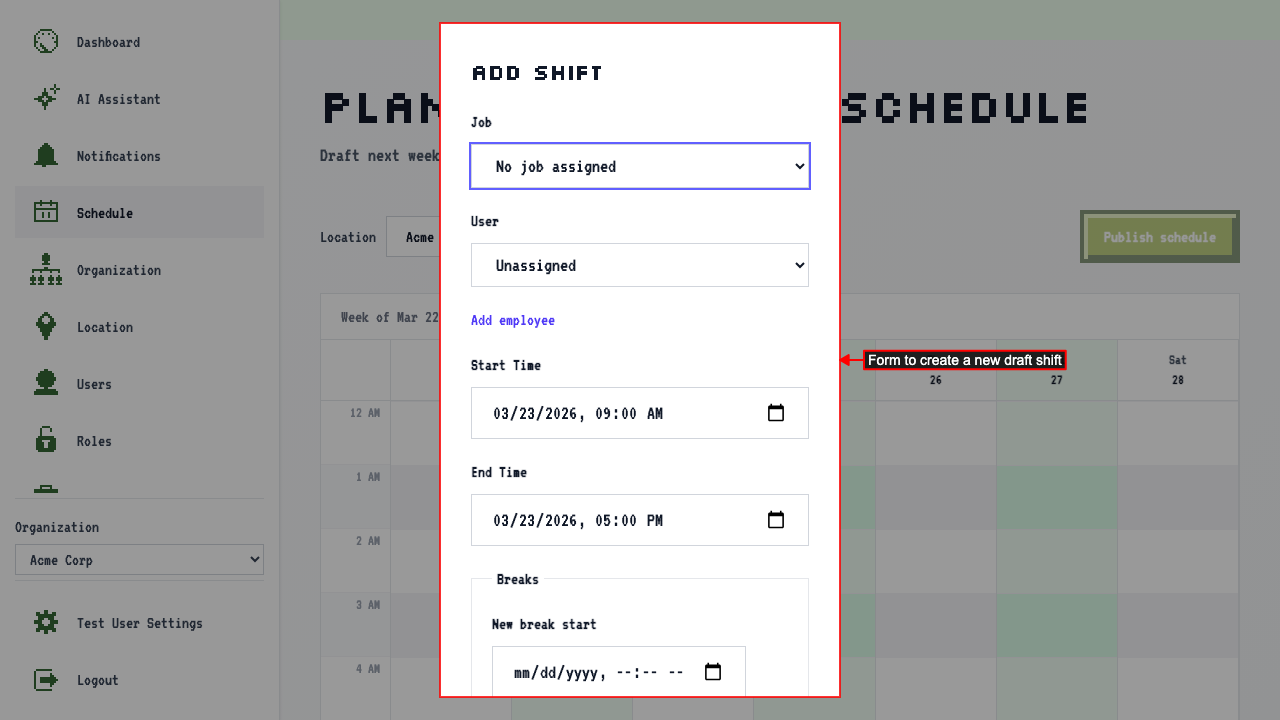
Fill out the shift form with:
- a user
- start time
- end time
Then click the save button to save the shift.
Alternatively, clicking on a slot on the calendar directly opens the shift form with that time pre-filled.
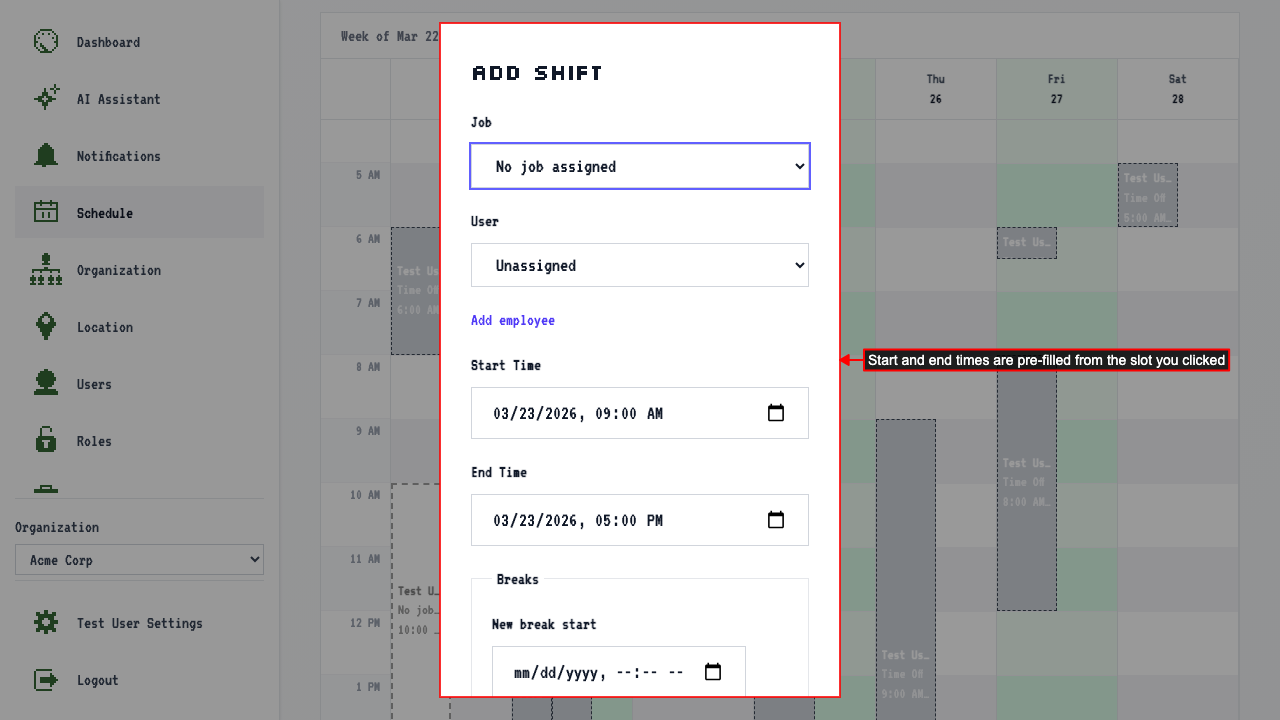 The start time is pre-filled to the hour that was clicked and the end time is set to 8 hours after that. You'll need to assign a user and a job to the shift.
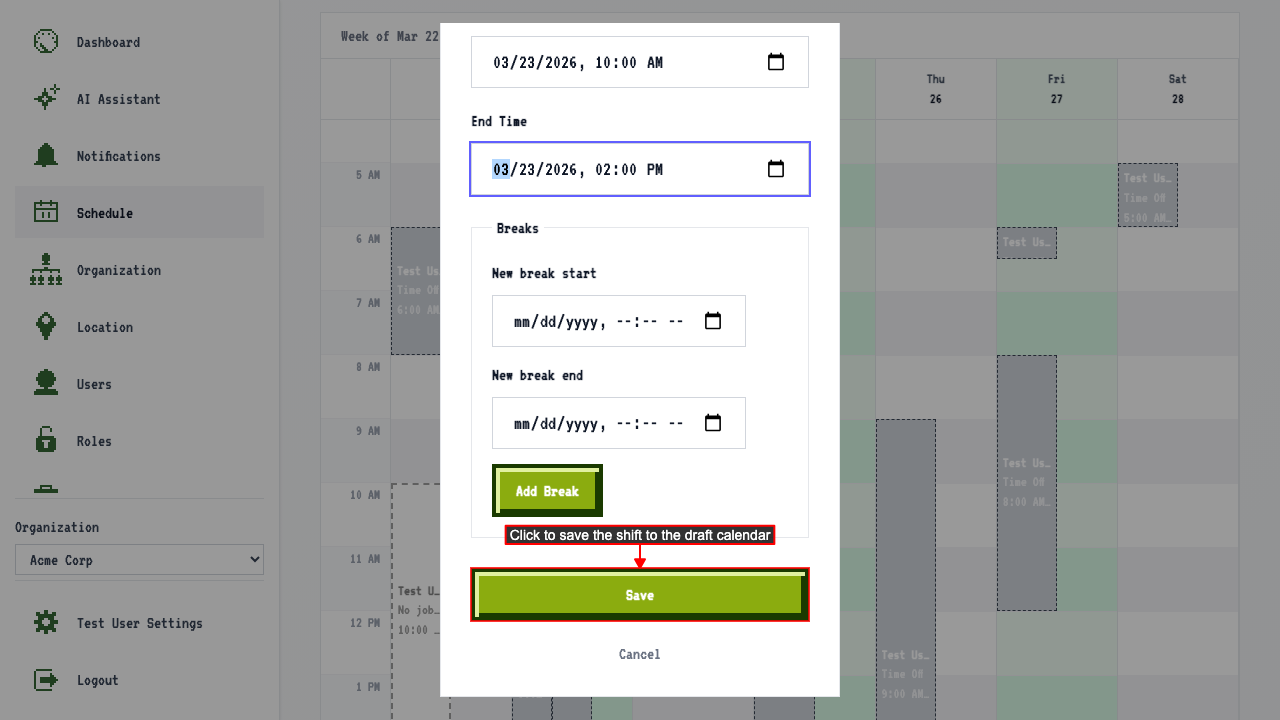
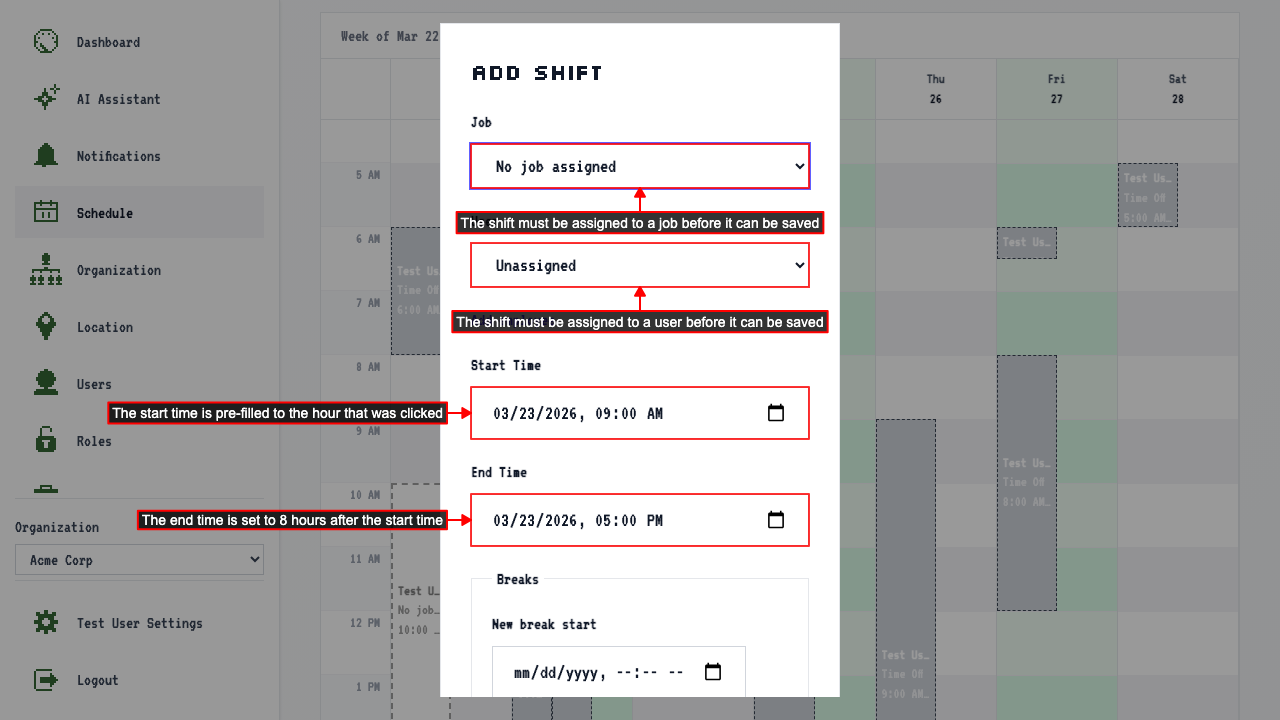 You can edit the start and end times before saving the shift.
Clicking the Save button will confirm the shift and add it to the draft calendar.
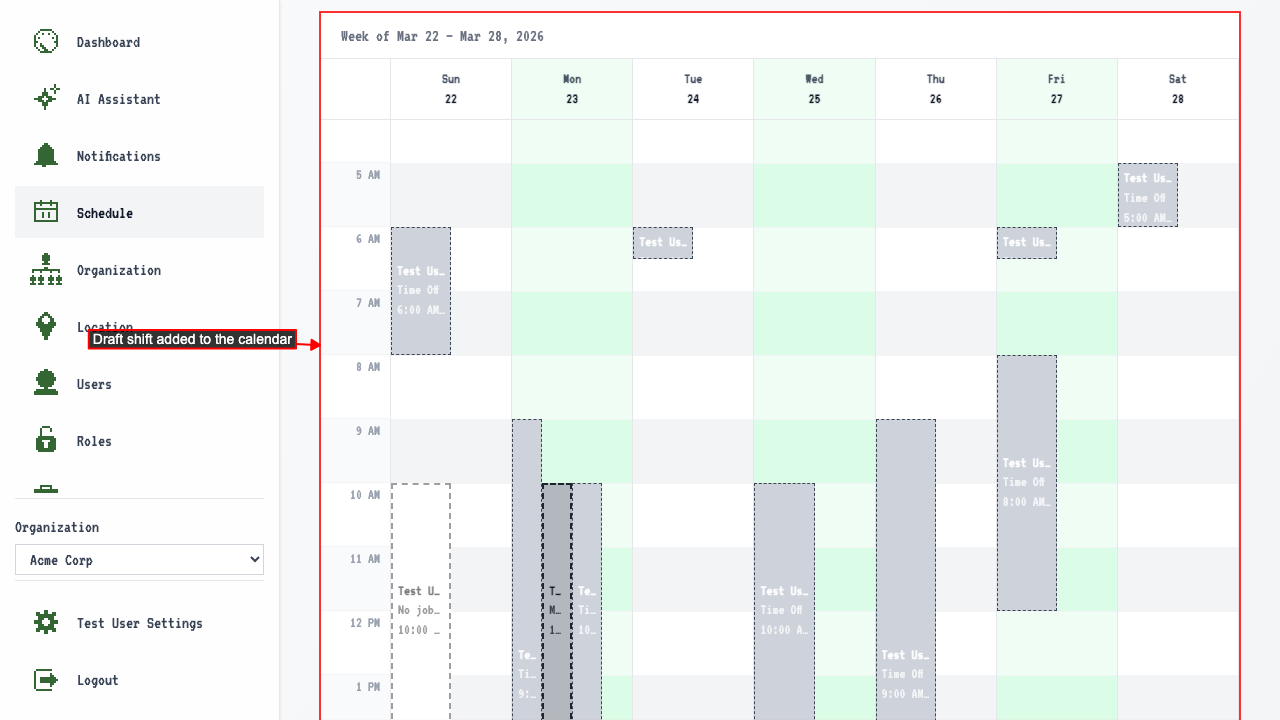
 Then shift appears in the draft calendar.
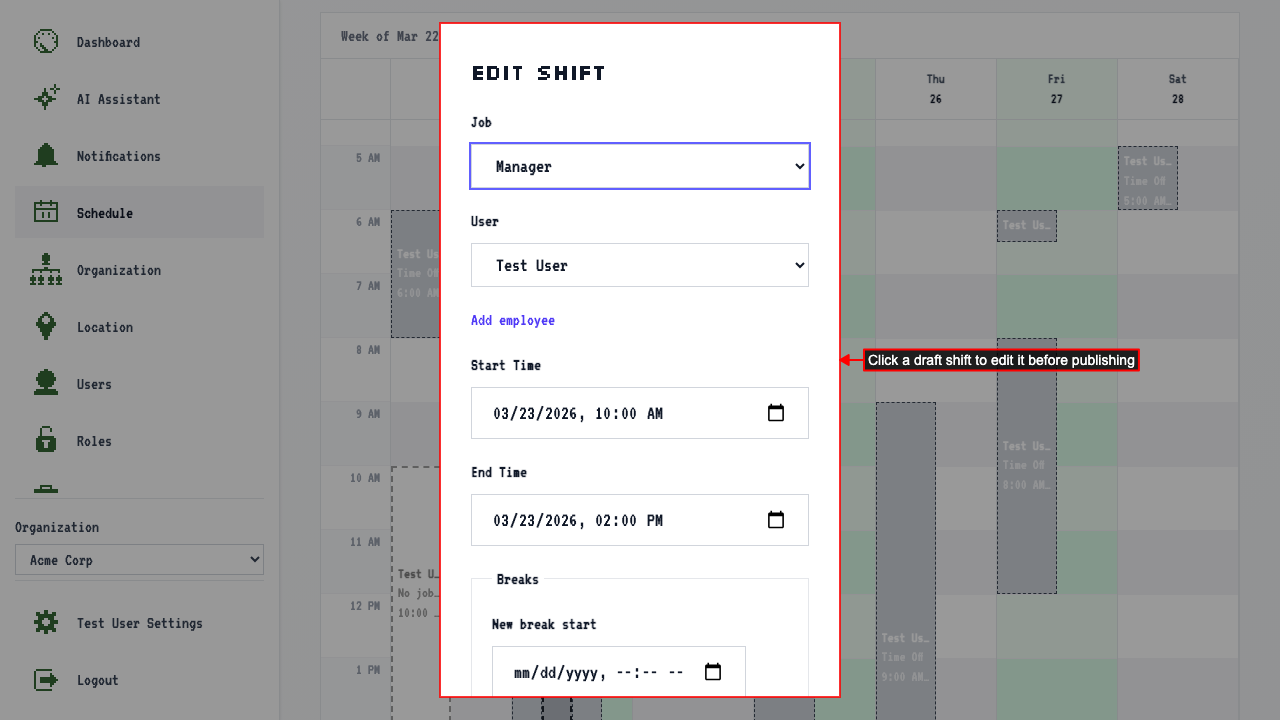
 If you need to edit a shift, you can click on a shift to reopen the shift form to make edits.
 To remove a draft shift, click it to reopen the dialog and use the Delete button.
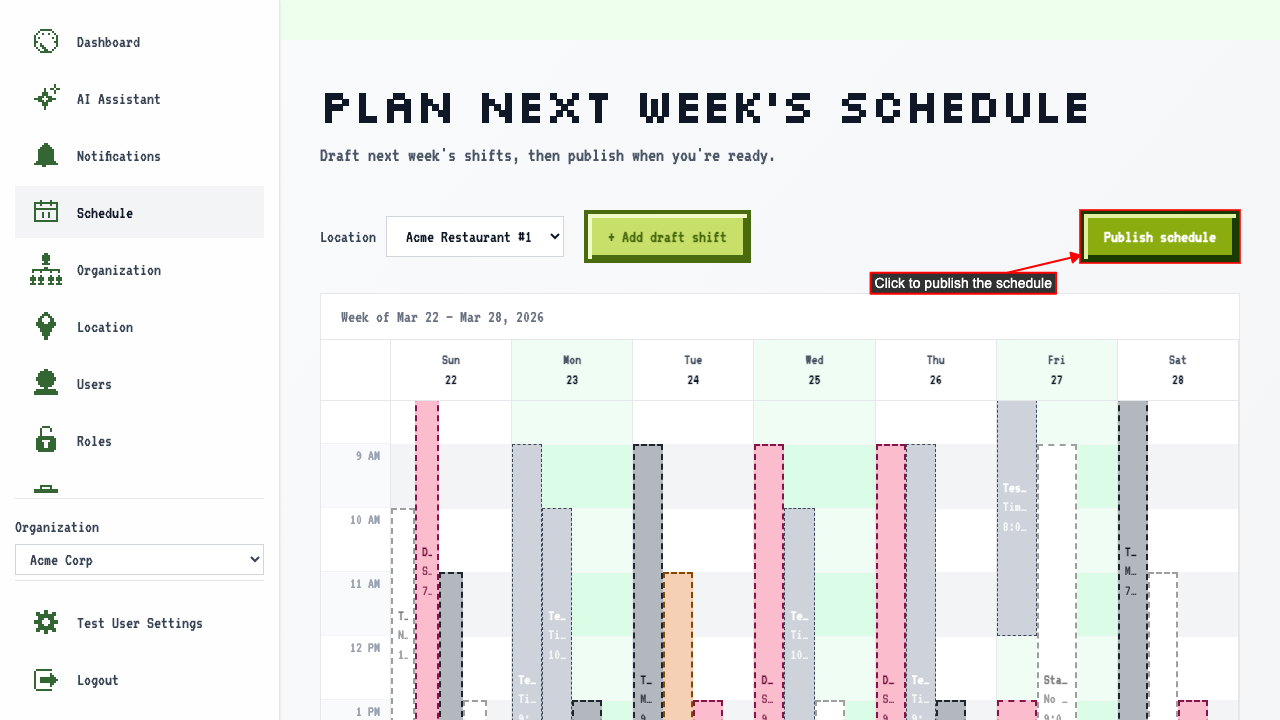
 Add shifts for the rest of the week.
click 'Publish schedule' to make the shifts live.
Add shifts for the rest of the week.
click 'Publish schedule' to make the shifts live.
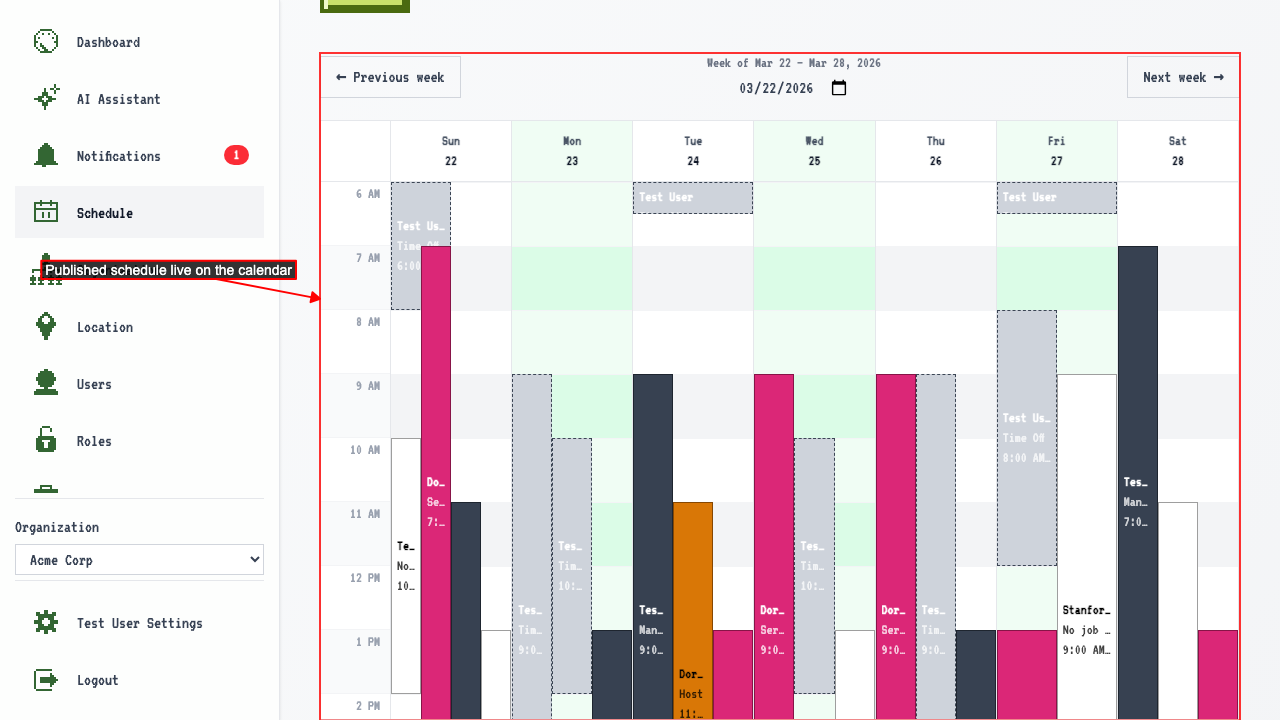
 You are redirected to the live schedule for that week, with the shifts displayed.